A guide to Wplace overlays
Turn an image into a painting reference with the built-in overlay tools. Prepare your artwork, position it on the map, and work through a build color by color.
Upload image or project
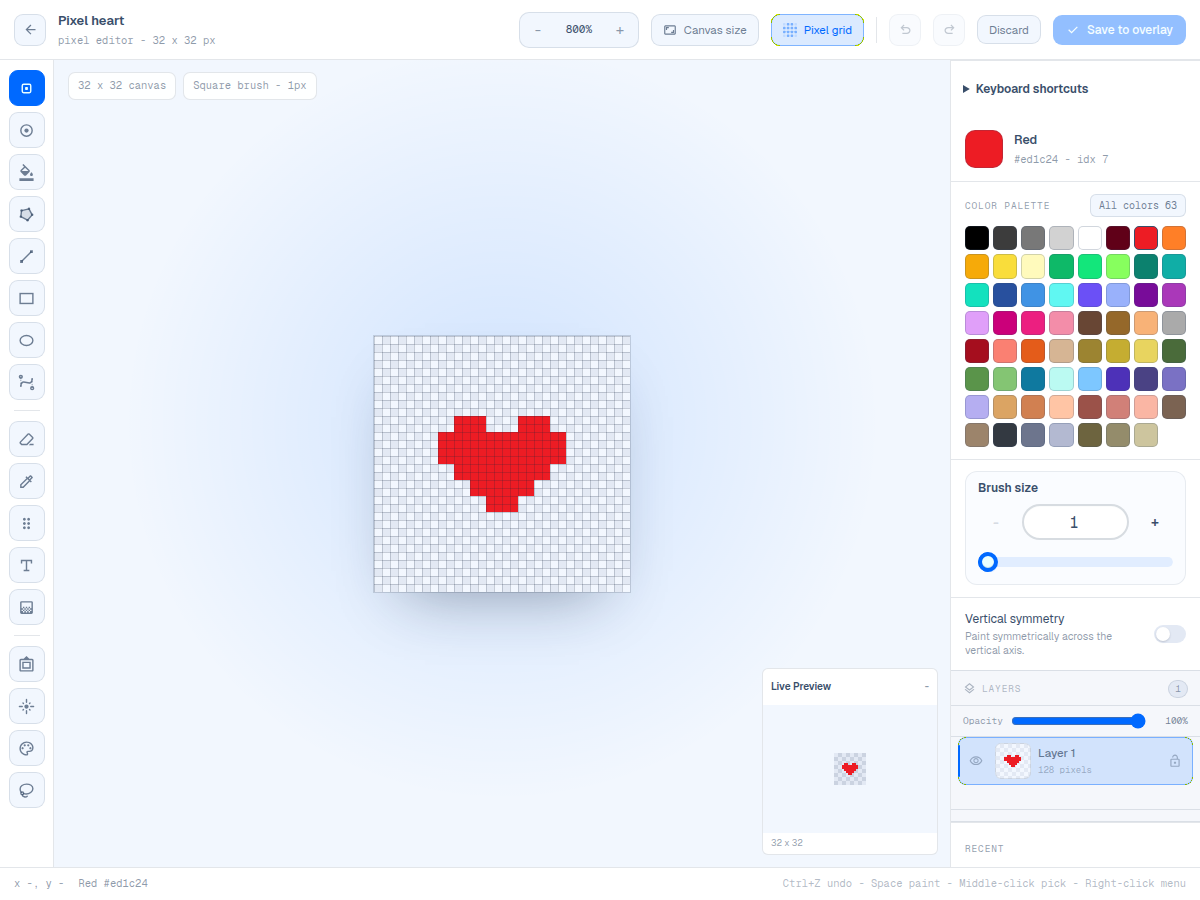
Log in and open Overlays from the map. Upload an image or create a blank project in Pixel-art Studio. Choose a manageable pixel size and check the converted colors before saving. A small, clear design is easier to finish than a detailed photograph.
- Create from scratch, upload an image, or import a .wplace file.
- Add a PNG, WebP, JPG, ORA, or PSD file from your device.
Set position
Select your overlay and set its position. The anchor is the top-left pixel of the artwork, not its center. Use exact tile and pixel coordinates when your group needs the same starting point, and check the placement before painting.
- Click to set the top-left pixel using tile X, tile Y, pixel X, pixel Y
Paint with a guide
Open the overlay in paint mode and adjust its opacity so you can see the canvas underneath. Use the color filter and missing or incorrect pixel markers to choose what to paint next. The reference itself does not place pixels on the shared map.
- Show only the color currently selected in the paint palette.
- Marks pixels painted the wrong color with a red X.
- Marks missing pixels with a gray question mark.